
I soon found that the overlaminate used on this decal, OCE TSLA64, did not stick down as hard as the much more expensive 3M 3645 floor overlaminate used on the Squier Stratocaster. I had put a strip under the bottom strap pin for a bumper protector, because I wanted to drop the pin into a metal stand tube and try playing it upright. Very quickly, the guitar strap started lifting the edges of the OCE overlaminate off the bottom printed vinyl layer. This overlaminate did not stick to the decal vinyl as well as the decal stuck to the guitar.
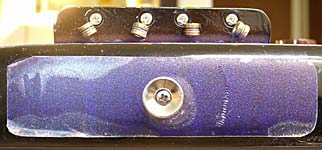
So I cut narrow strips of the regular soft vinyl overlaminate used in van waps and used it to tape the edges down. I found that short strips seemed easier to handle, as they had to be stretched and heated to fit the complex curvature of the edges of the guitar body face. Look for example at the point of the lower horn. It curves sharply in two directions. You will need the tools below, including a braying roller (red, about $15) and heat gun (Wagner, about $30).
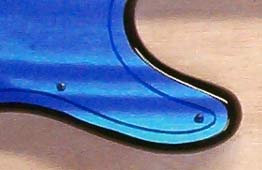
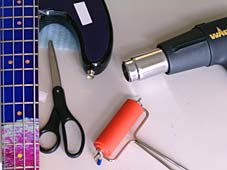
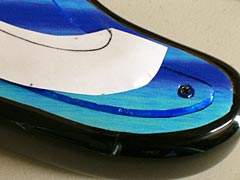
In this case, I took a small sheet of glossy vinyl overlaminate, slid it under the pick guard and marked the edge. Then cut it to roll over the edge of the bass body about 1/4 inch on the decal and 1/5 inch off. Short strips like this work best. Long strips are much more difficult to handle and apply without excessive stretching or wrinkling.
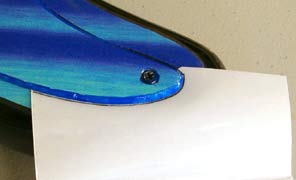
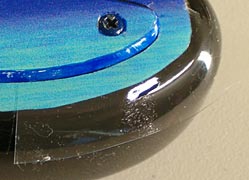
Note the white mark on the tape in the lower left of the third image just above. It is a defect in both the adhesive and the tape. Any such defect, bubble, or particle of whatever under the tape, will show up when the tape is down, expecially on a black guitar. Vinyl print media and overlaminate will naturally shrink with heat, but stretches when heated and pulled. You can see below that the tape tends to buckle and wrinkle when rolled over the complex curves of the horn edge. You can avoid this by alternately heating the tape with the heat gun, and then rolling the hot tape down on the guitar a bit at a time. Since the roller is much cooler than the heated tape, it tends to fix the stretching and shrinking of the tape on the body by cooling the tape. Eventually, the tape will be fixed to the rolled edge without wrinkles. You can also see an air channel in the tape along the edge of the decal. You can remove much of it by squeezing it out with the edge of the roller.

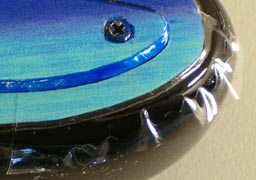
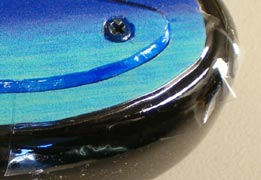
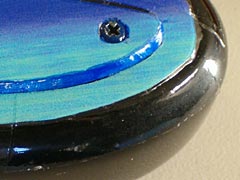
I'm not satisfied with this approach. The tape puts a very glossy edge on a matte decal, and shows every wrinkle and defect. On the other hand, it has the advantage eliminating the edge peel problem in the matte overlaminate, and can be easily removed and replaced. Because it is much thinner than this particular decal (which has three layers, a printed vinyl, a glossy soft vinyl and the hard matte vinyl), it seems that the tape edges are more difficult to peel up.